Why Dust Collector Filter Bags Break: Damage Patterns That Point to the Real Cause
Understanding why dust collector filter bags break begins with the location and shape of the damage. Preserve the removed bag and its operating history, then compare the wear pattern with cage contact, cleaning alignment and process changes. This page helps you decide which part of the collector to inspect first.
For a full investigation of wear direction, cage contact, cleaning stress and collector geometry, use the filter bag wear-pattern diagnosis guide.
Why dust collector filter bags break: locate the damage
| Where the bag failed | First place to inspect | Next guide |
|---|---|---|
| Near the top or collar | Top construction, tube sheet, sealing area and pulse alignment. | Top-wear diagnosis |
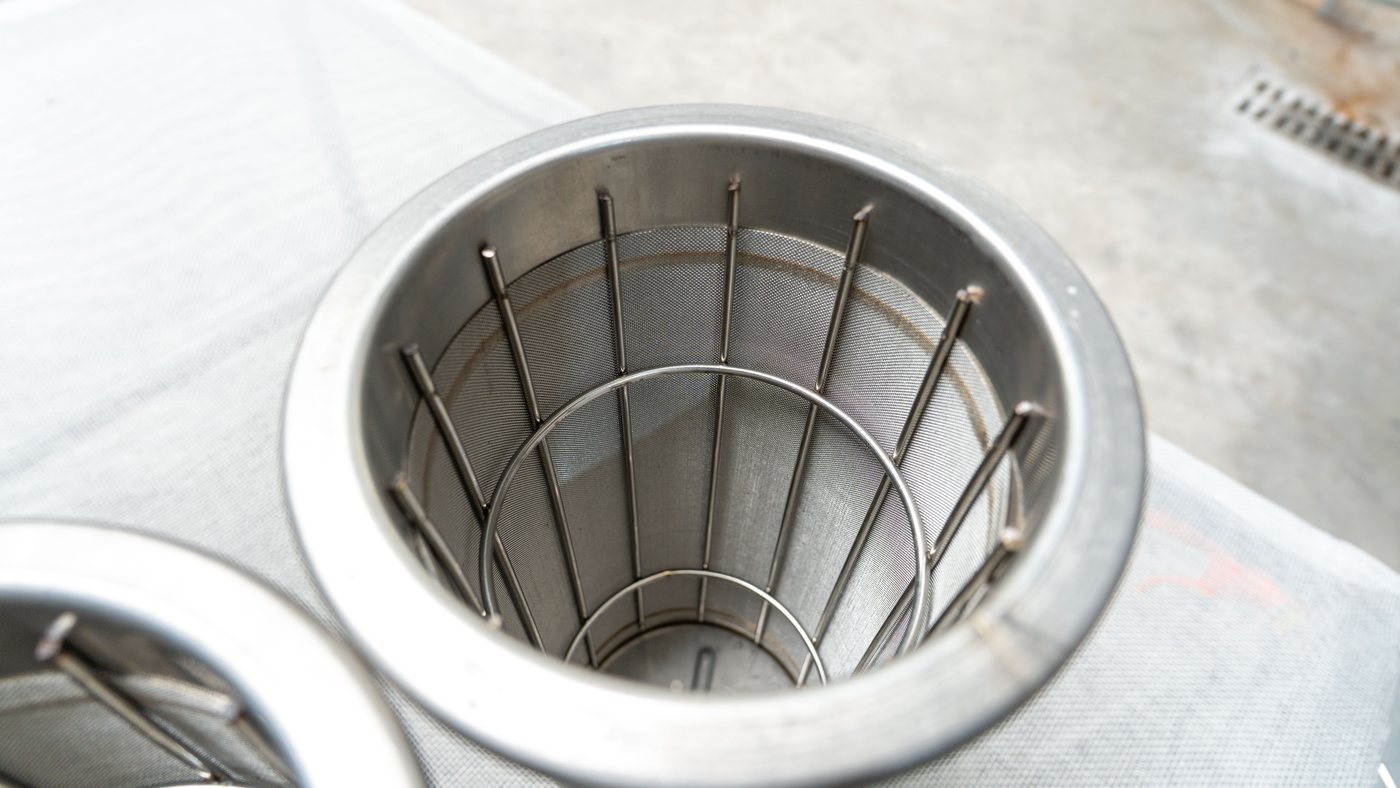
| Along the bag body | Cage surface, wire condition, fit and cleaning-related movement. | Cage inspection guide |
| Near the lower section or bottom | Bag length, clearance, inlet abrasion, hopper accumulation and reinforcement. | Lower-wear diagnosis |
| Stiff, coated or brittle with no clear tear | Temperature history, moisture, dust behaviour and cleaning performance. | Blinding and hard-cake guide |
Preserve Evidence Before Replacing the Bags
- Photograph the full bag and the damaged area before removal.
- Photograph the matching cage, tube sheet and nearest suspected contact point.
- Record the collector compartment, bag age and any operating change near the failure date.
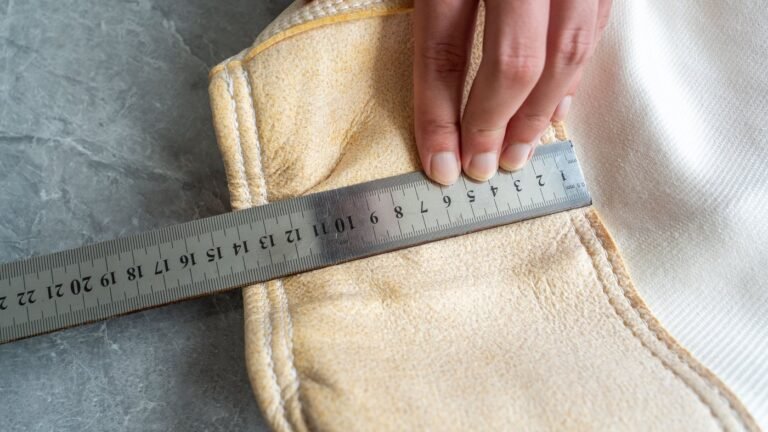
- Keep bag measurements separate from the damage record; follow the replacement-bag measurement guide.
Purpose of this page: a quick triage for the first inspection. It does not diagnose the exact cause from a single photograph or prescribe a replacement material.
Need a replacement review? Send the bag, cage and failure-position photos with the operating details through the failure-diagnosis form.
Next step
Check the baghouse before changing bags
Cage fit, cleaning method, tube-sheet condition or repeated damage may affect the replacement result. Review the baghouse system first.