Used Filter Bag Inspection: What a Removed Bag Can Reveal Before Replacement
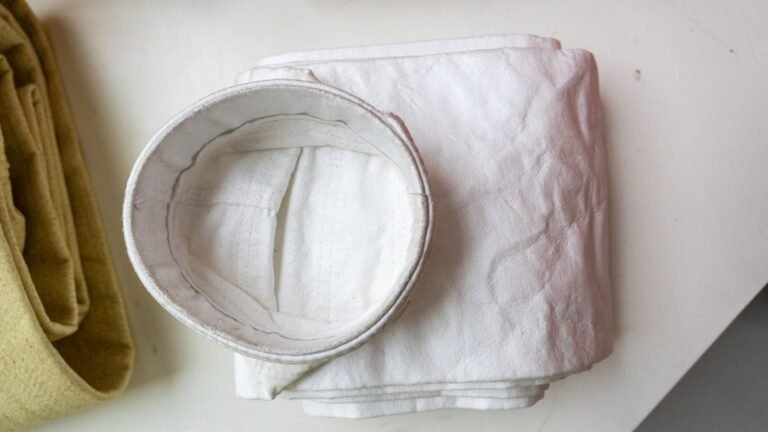
Used filter bag inspection helps a buyer document construction, visible damage and dust deposits before requesting replacements. A removed bag provides useful evidence, but its dimensions may have changed in service. Check it against the collector drawing and support cage rather than treating the old bag as a perfect production sample.
This article is not about selling used bags. It is about using removed bags as evidence before making a new set.
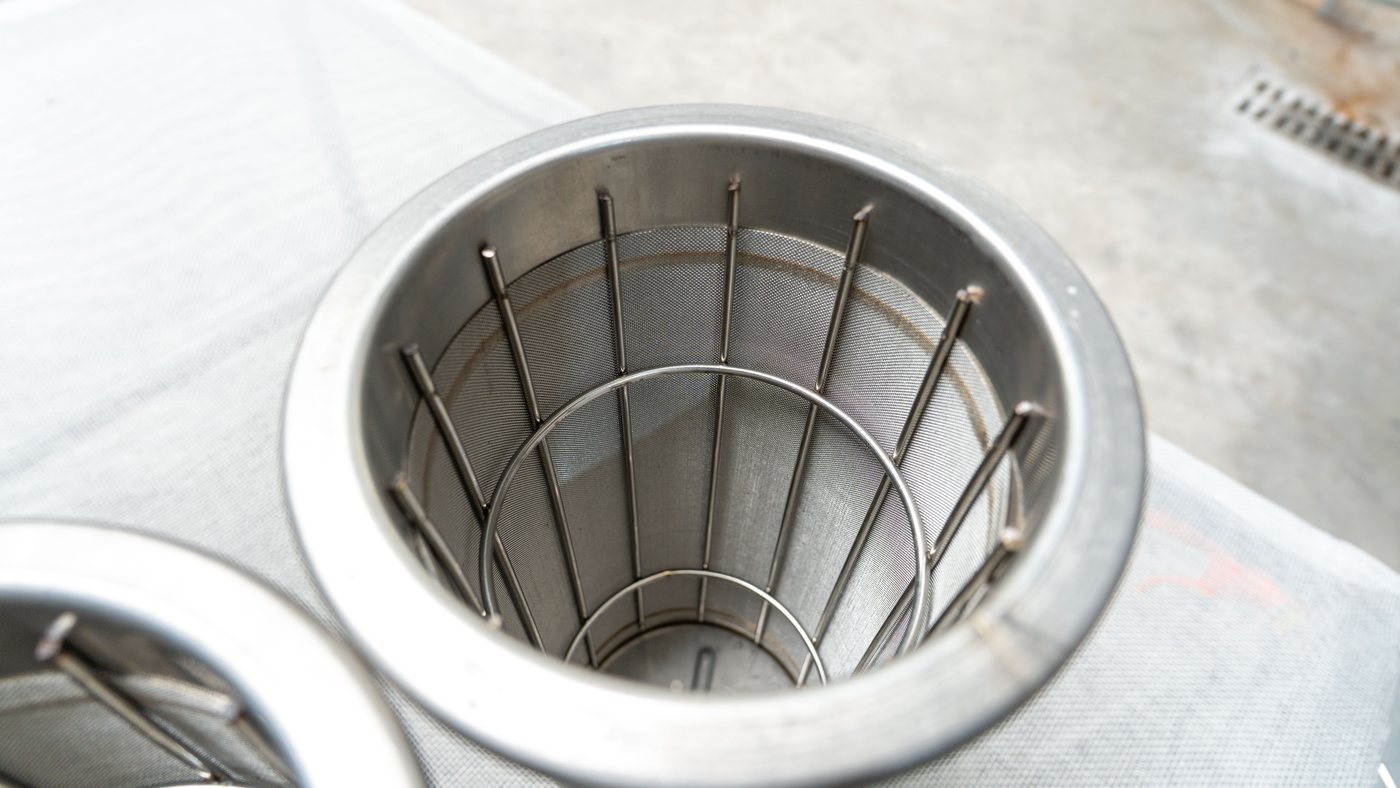
Used filter bag inspection: start with clear photographs
A dust collector model can be helpful, but many collectors have been modified. Tube sheets are changed, cages are replaced, and bags may have been supplied by different vendors over the years. A few clear photos can confirm details that are hard to describe in email.
| Photo or data | What it helps confirm |
|---|---|
| Bag top | Snap band, flange, ring, cord, raw edge or special top style. |
| Bag bottom | Disc bottom, reinforced bottom, wear mark or cage contact point. |
| Seam direction | Sewing construction and whether the seam is exposed to abrasion. |
| Dust cake | Dry, sticky, oily, bridged, hardened or moisture-affected dust. |
| Damage position | Top leak, bottom wear, cage rub, chemical attack or cleaning damage. |
Build a Labelled Photo Record
For each bag, record its collector compartment or position, removal date and service age if known. Take a full-bag view and matching close-ups of the top, bottom, seam and damaged area. Keep the matching cage photos with the same reference.
Use the filter bag wear-pattern diagnosis guide to organise the possible causes. A photograph records a symptom; it does not by itself confirm the cause or the fibre material.
Keep Measurements Separate From Visual Evidence
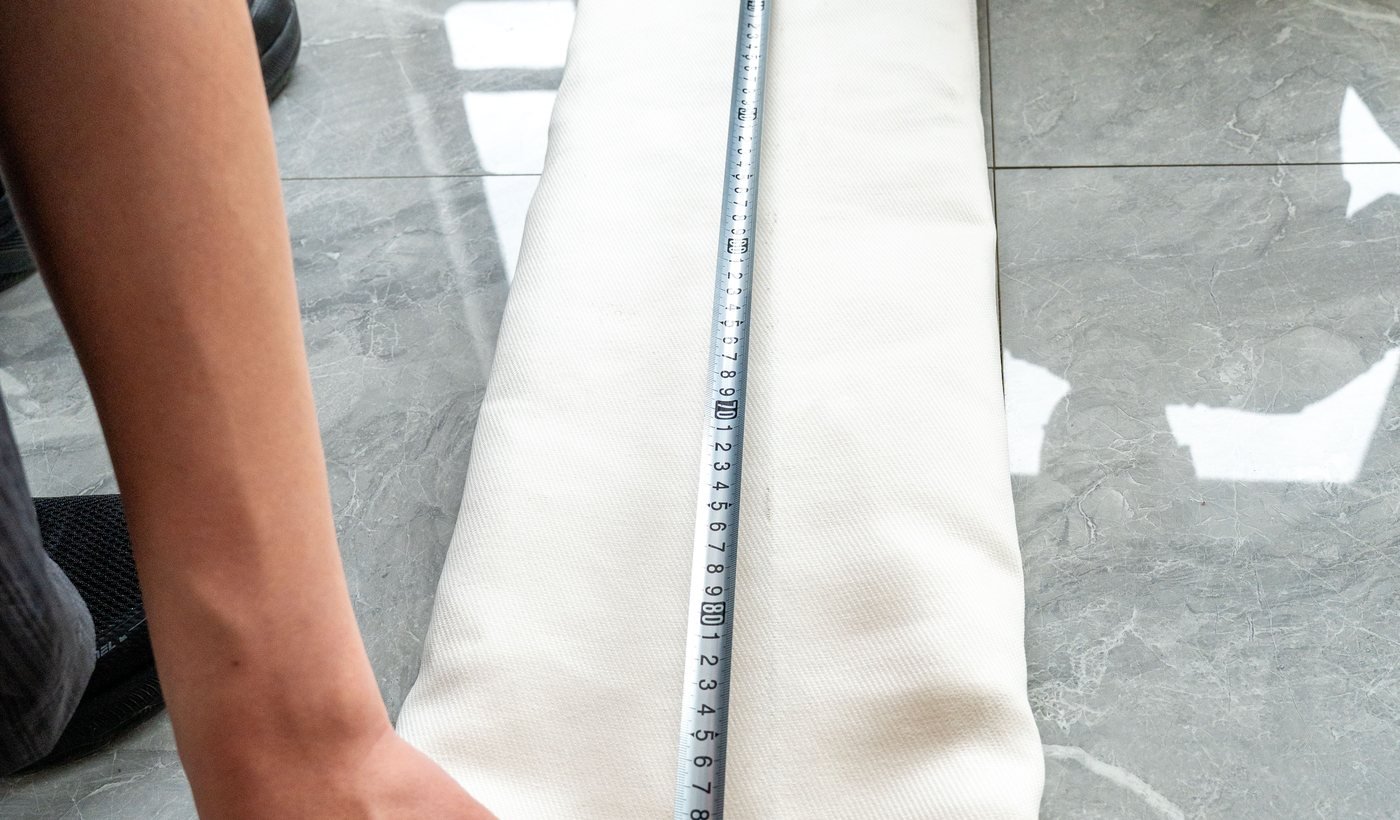
Label each measurement as flat width, diameter or length, and identify the points used. Follow the replacement bag measurement guide for the dimensional record, then use the replacement order checklist to assemble the enquiry.
What a used filter bag inspection cannot confirm from photos
A photograph can document a narrow wear line, a split seam or a hard deposit. It cannot establish residual fabric strength, identify a fiber blend reliably or predict the remaining life of the other bags. Keep observations separate from proposed causes in the inspection report.
If the replacement decision depends on one of those unknowns, agree on the sample review or laboratory work needed before ordering. Ask which question the proposed test will answer and whether the reviewer needs an unused reference sample from the same specification. Confirm sample handling and packaging with the receiving laboratory; do not send unidentified dust-contaminated material without that agreement.
Turn inspection findings into a replacement specification
Ask the reviewer to connect each proposed change to the evidence. A new finish, a different fiber or extra reinforcement should have a stated purpose. Record any collector repair or operating check that must accompany the replacement.
- Evidence: identify the affected area and whether the same pattern appears on other bags.
- Open question: list the measurement, operating record or test still needed to assess the cause.
- Proposed action: distinguish a bag-specification change from a cage, cleaning or process check.
- Acceptance: agree on the drawing, sample approval and inspection records for the new order.
Keep this review with the quotation and label assumptions as unconfirmed. It gives the purchasing team a clear basis for comparing supplier responses and a record to revisit after the replacement has operated.
Next step
Prepare a replacement bag RFQ
If you have an old bag, drawing, sample or measured dimensions, use the replacement route to confirm construction before quotation.