
Technical Service Reference · Anonymized
Finding the Hidden Collector Defect Behind Repeated Filter Bag Wear
When replacement bags fail in the same pattern, the collector’s geometry and internal condition must be investigated before ordering more media.
A cement site reported dust leakage at bag mouths and fast repeat damage on a tail-end collector. New replacement bags failed in the same area, making the failure pattern more useful than a one-off visual inspection.
Source and role: This technical-service reference is based on an anonymized record from the factory that manufactures filter bags supplied through Pinnacle Filter. Pinnacle Filter was not the original supplier to, or the on-site service provider for, the end user.
The operating problem
The same damage appeared again after a bag was changed
Inspection found a failed weld and a displaced internal partition. Its reinforcement member had moved into the bag travel zone, creating an external-to-internal wear pattern at the same location on successive bags. Tube-sheet openings also varied locally, which required a separate fit check at the bag mouth.
Field evidence trail
The observations that changed the diagnosis
The location repeated
The removed bag and the newly installed replacement both failed at approximately 400 mm below the bag mouth.
Why it mattered: A repeatable height is a positional clue inside the collector.
The replacement failed within one day
A bag installed only the day before already showed the same puncture pattern.
Why it mattered: The short recurrence interval made normal ageing an implausible explanation.
Wear progressed from outside to inside
The recorded puncture direction began on the external bag surface and moved inward.
Why it mattered: The direction indicated contact or impact from the collector side of the bag.
The hidden obstruction was exposed
After the bag was removed, the partition weld was found failed and the displaced reinforcement had entered the bag travel zone.
Why it mattered: The equipment geometry matched both the failure height and the damage direction.
How the factory service team worked
Evidence first. Recommendation second.
Measure the fit
Check local tube-sheet opening dimensions and inspect damaged seating positions.
Map the damage
Compare the height and direction of wear across the removed and replacement bags.
Inspect the adjacent structure
Remove the bag to reveal the displaced partition and its contact point with the bag path.
Diagnostic decision
What was ruled out—and what was confirmed
Findings that did not fit the initial assumption
- A random fabric flaw would not normally repeat at the same height on successive bags.
- Local tube-sheet fit variation required attention, but it did not explain a puncture roughly 400 mm below the mouth.
- Adding reinforcement to the bag alone would not remove the displaced metal contact point.
Confirmed direction
A failed partition weld moved a reinforcement member into the bag path
The repeated position, external-to-internal wear direction and exposed displaced structure formed a consistent mechanical explanation. The collector had to be repaired before another replacement bag could be expected to survive.
Field photo evidence
Start with the marked damage and equipment geometry
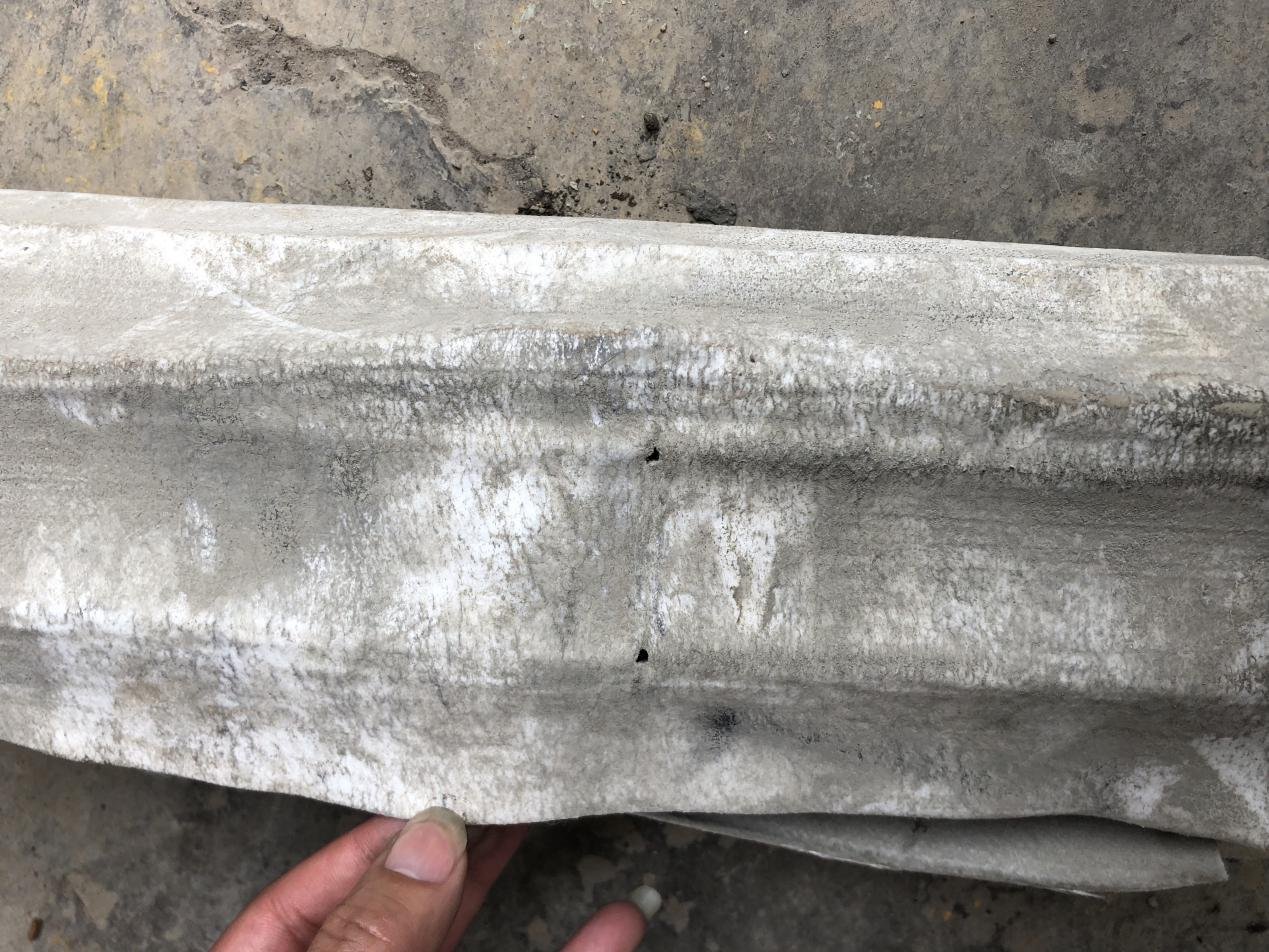
The strongest problem-location photographs are shown first. Red outlines reproduce the original PPT annotations; one measurement photograph follows as supporting fit evidence.
Red outlines: problem locations reproduced from the original service-meeting deck.
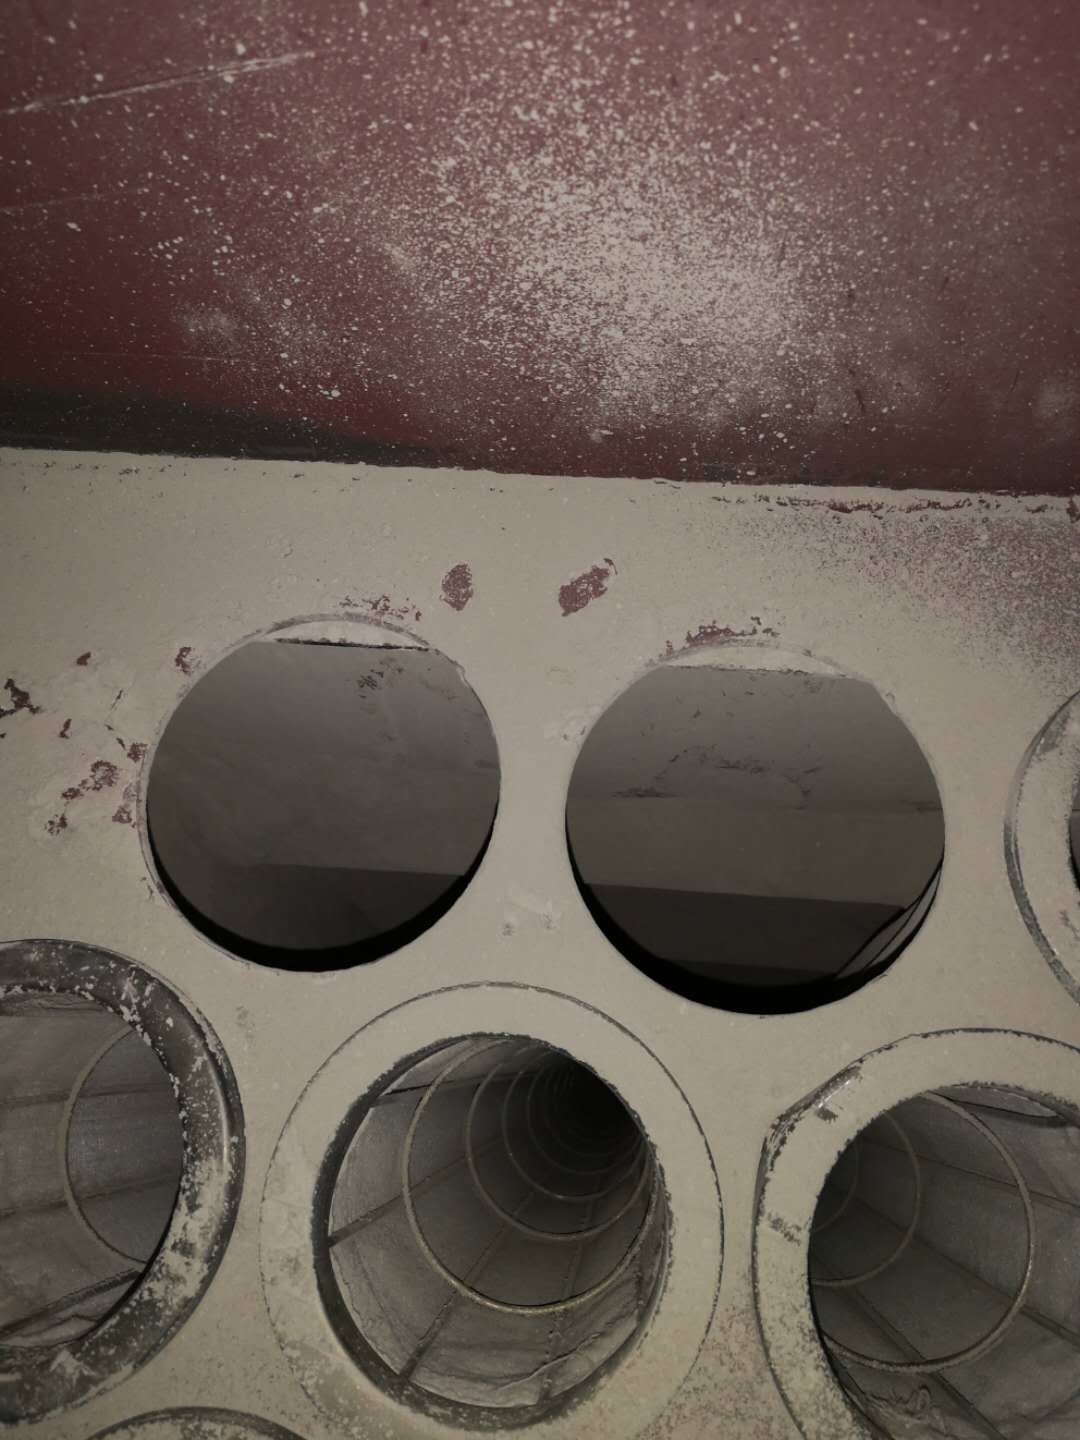
The marked internal reinforcement area aligned with the repeated wear position on the bag body.
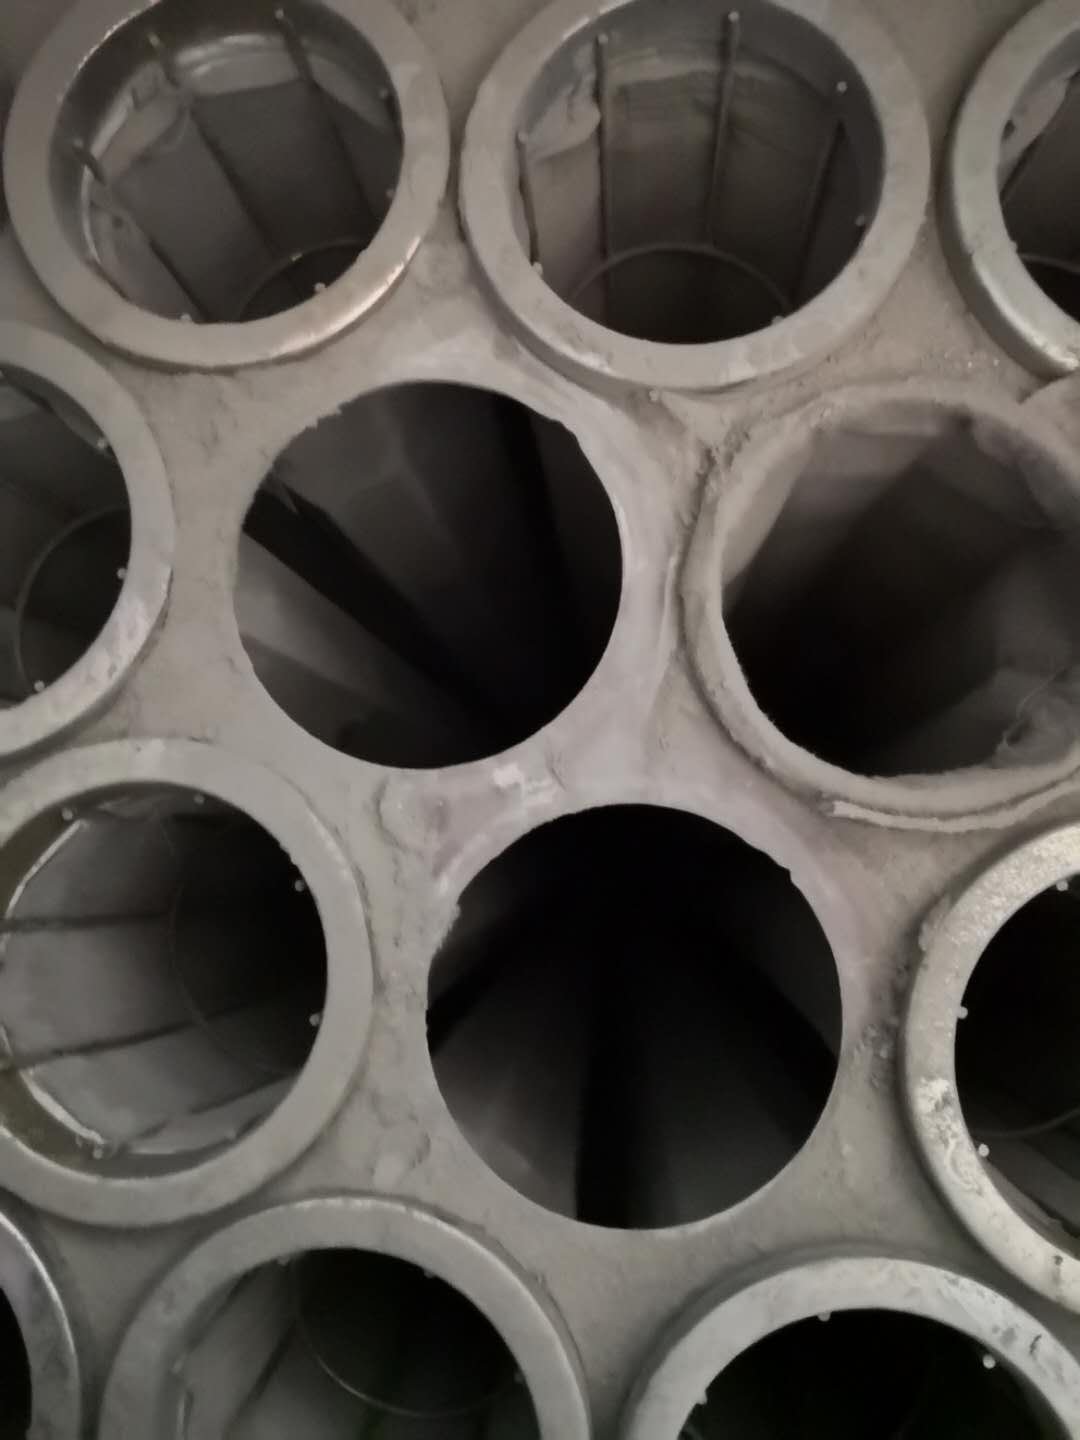
Two locally damaged opening edges were marked separately from the deeper body-wear diagnosis.
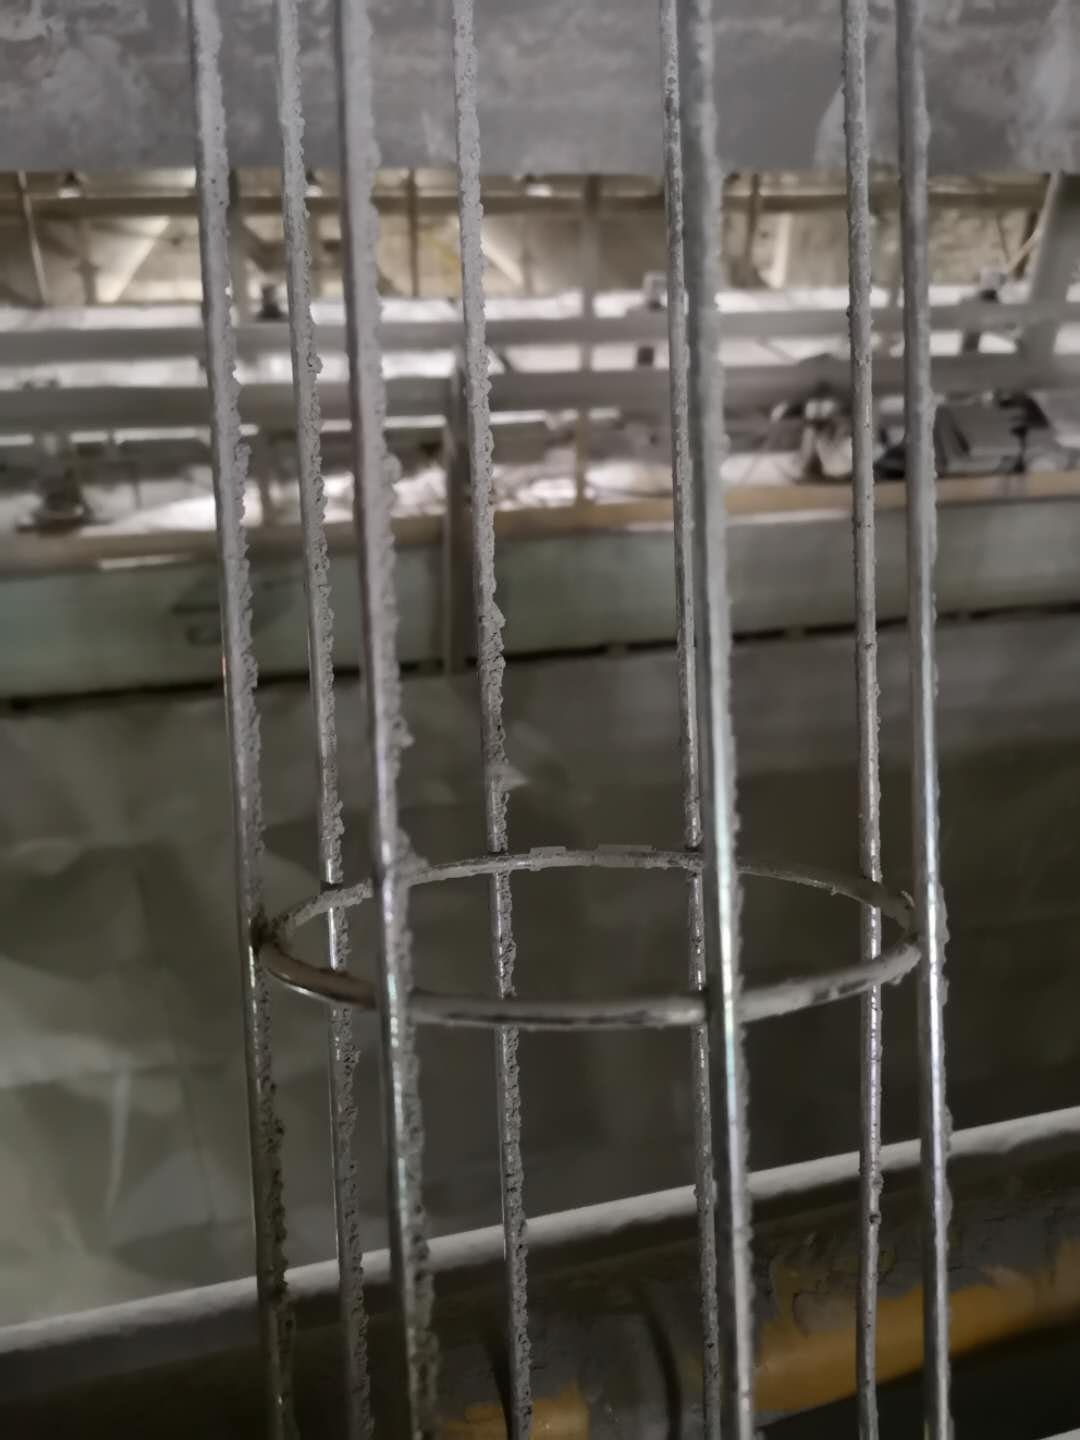
Hardened deposits on cage wires were recorded as an additional wear risk requiring correction.
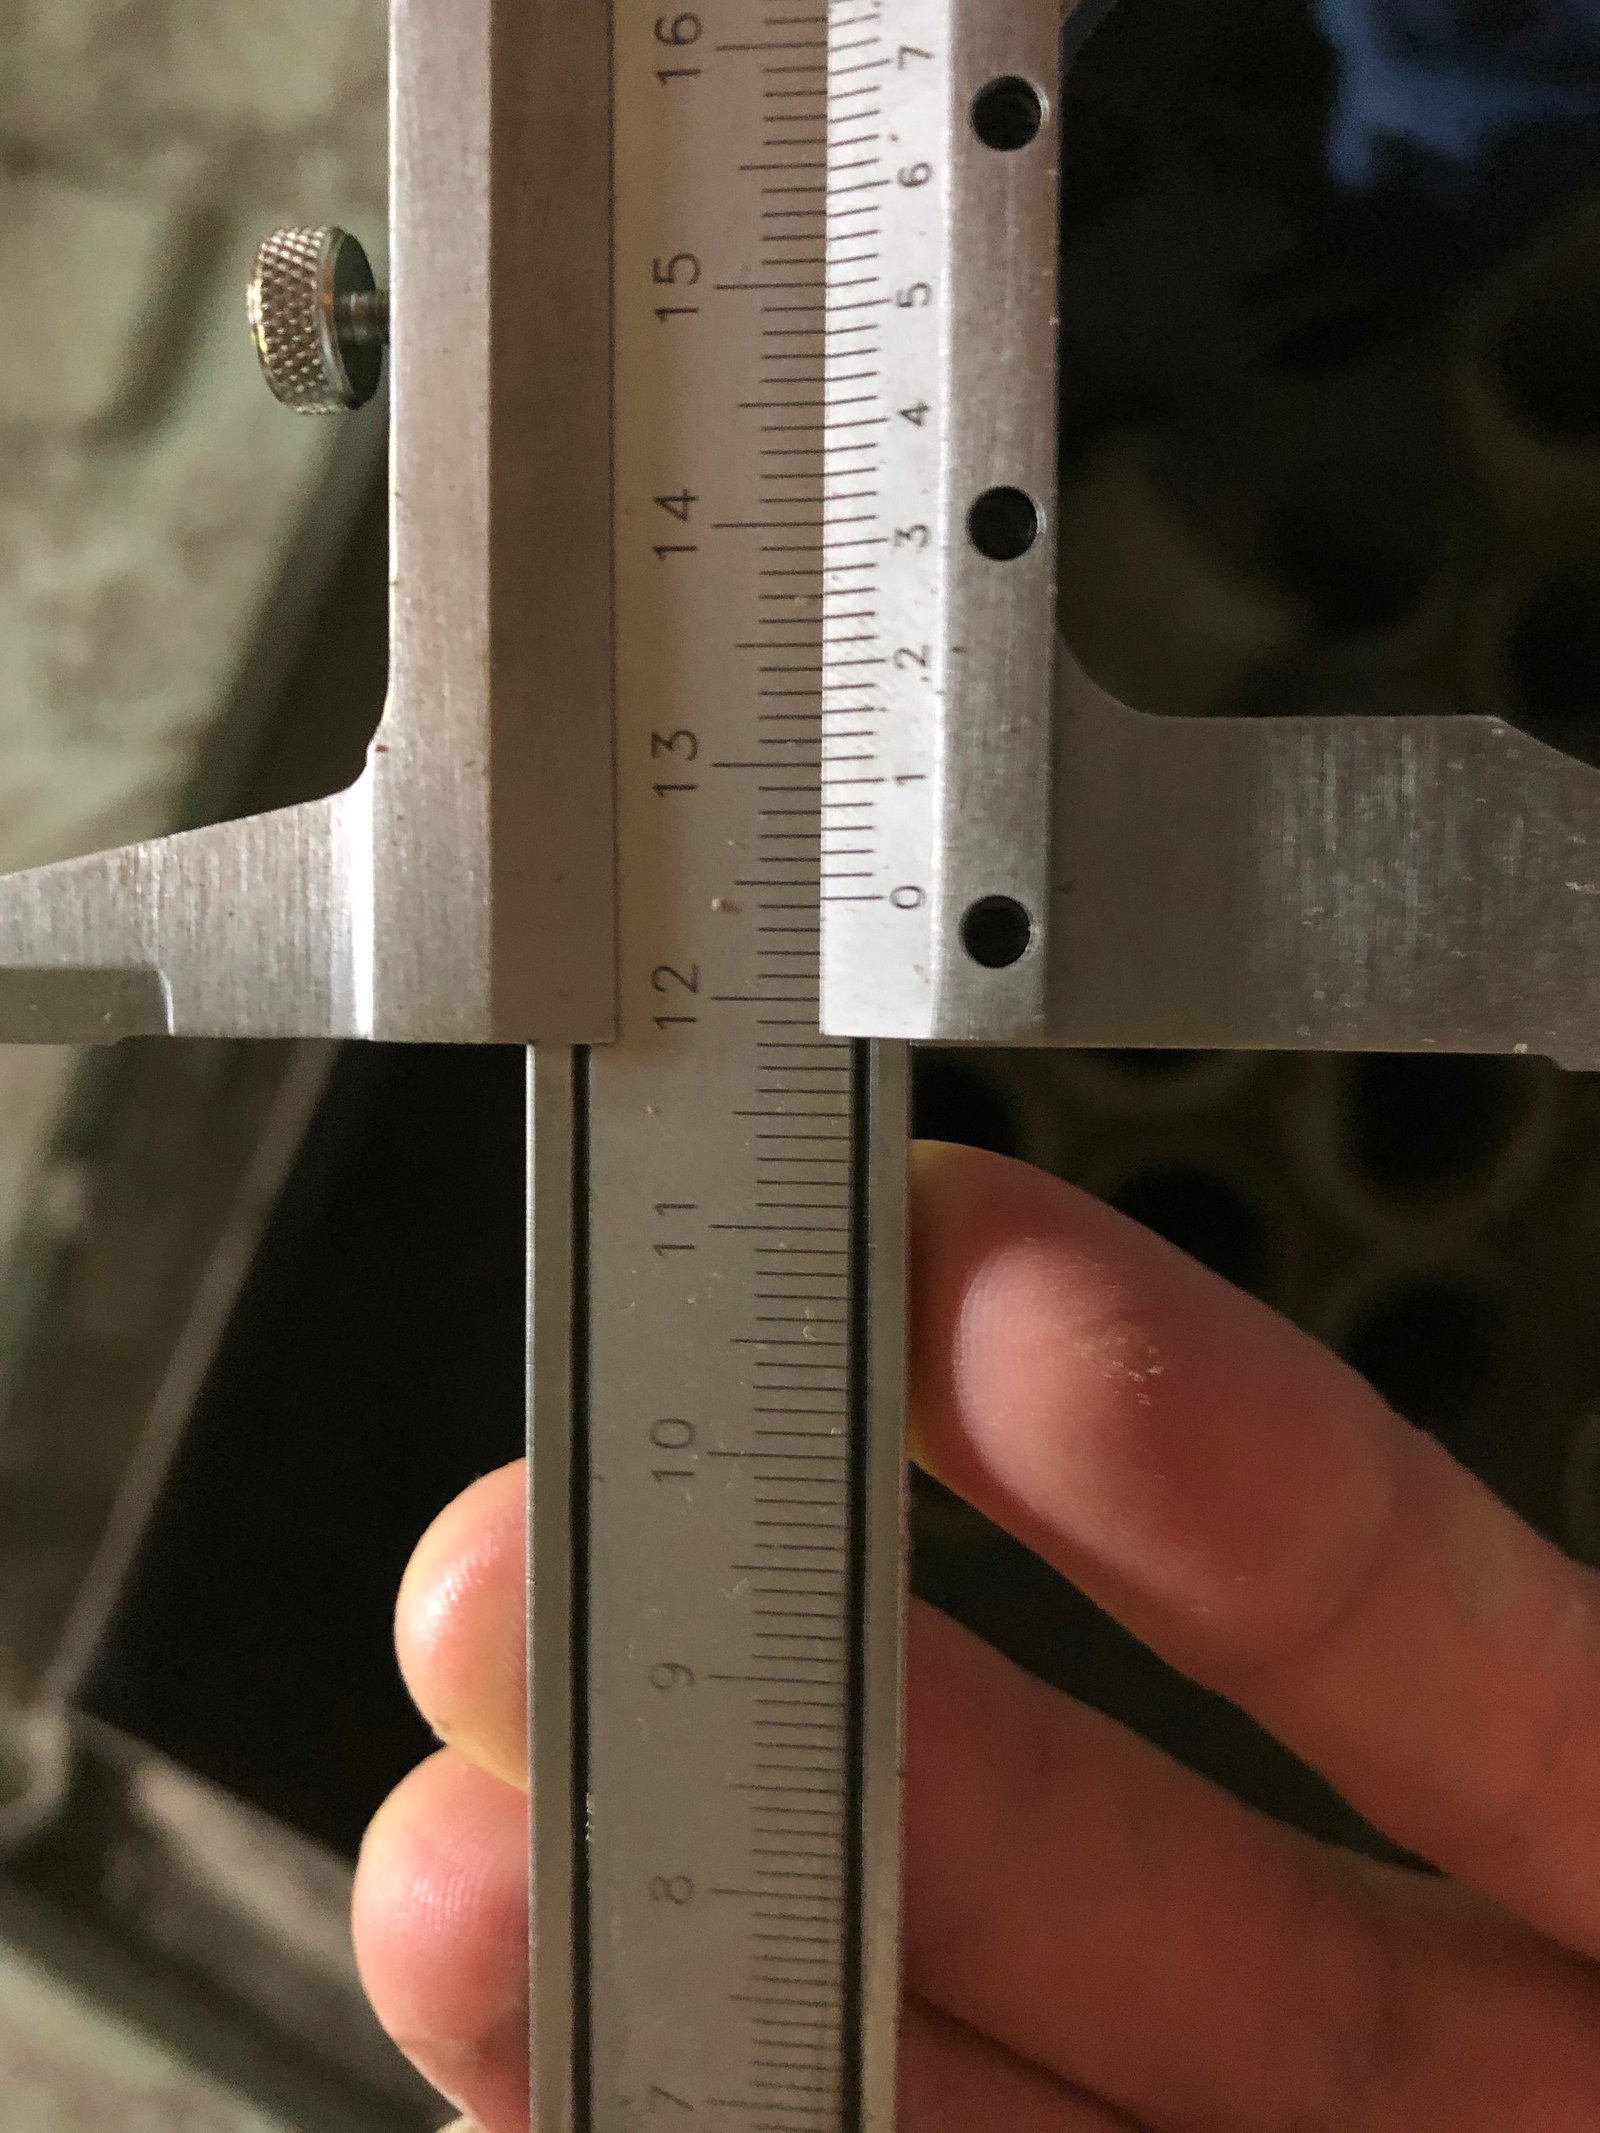
One tube-sheet opening was measured during the same service visit; the reading was recorded separately from the body-wear diagnosis.
Verified diagnosis
The mechanical root cause was confirmed before another full replacement
The repeated failure position and the exposed, displaced reinforcement established an equipment-contact cause rather than a fabric-quality conclusion.
Corrective direction
Actions tied directly to the evidence
Restore the partition geometry
Return the displaced partition to its intended position so the reinforcement no longer enters the bag movement envelope.
Repair and inspect the welds
Repair the failed connection and inspect adjacent welds for looseness before restarting the collector.
Remove cage-related hazards
Clean or replace cages with hardened deposits, rough surfaces, corrosion or deformation that could create a second wear mechanism.
Treat fit as a separate check
Measure local tube-sheet openings and correct damaged seating positions without confusing that issue with the body puncture.
Next shutdown checklist
- Measure damage height from the bag mouth on every removed bag.
- Record whether wear progresses outside-to-inside or inside-to-outside.
- Compare failures by row, compartment and adjacent structure.
- Inspect partitions, braces and welds after the bag is removed.
- Reject rough, corroded, caked or deformed cages.
- Measure tube-sheet openings separately from the body-wear diagnosis.
Transferable lesson
A repeated tear is a map to the cause.
Do not let a reinforcement layer become a substitute for correction. Repair loose partitions or welds, remove contact hazards, check tube-sheet fit and reject rough or deformed cages before the next set of bags is installed.
Source and confidentiality: The original manufacturing partner’s technical-service record supports the operating conditions and findings. Customer names, sites, dates and identifying images have been removed; only relevant operating conditions, observations and confirmed findings are retained. This is not presented as a Pinnacle Filter direct customer project.
Need a second set of eyes on your baghouse?
Send filter-bag photos, cage details, pressure trend and the operating condition. Pinnacle Filter can help structure the review before a replacement order.